I know many of you have seen these handy thread catchers before. I see them a lot at craft shows, as well as in shops, both for sale and in classrooms. ANYWAY, they really are easy and quick make. If you haven't tried one, now would be a good time, since I'm sharing my step by step instructions. It took longer to type the instructions than it did to make one.
There are a lot of other uses for these things besides your sewing and cutting tables. You can iron some fusible vinyl to the lining fabric and make a little garbage can for your car. Instead of filling the pin cushion, you can make longer straps, sew them together and slip over the headrest to hang behind the passenger seat. Or make the bag a little bigger to store toys and/or books in the car. You can tweak the size a little bit....perhaps lengthen the straps....., don't fill the pincushion, just tuck it into the cushion and hang it over the arm of the couch to collect remotes and TV Guides (do they still make TV guides?...probably not....). You can make one to slip in between your mattress and box spring to hold your book and booklight. The possibilites are endless!
Supplies Needed:
2 Fat Quarters
Scrap of muslin or other fabric , 5 1/2" X 8 1/2" (should be a tightly woven fabric)
18 1/2" of strapping tape (If you don't have any around the house, check with your local grocer or office supply store....they throw away tons of this stuff, or you can often buy a piece from your local shipping store)
Play sand, rice, or beans
Thread to coordinate with fabric (We recommend Aurifil thread.)
3" X 5" piece of rubber shelf liner or rug liner
Cutting Instructions:
From each FQ cut one rectangle, 18" X 10". Decide which will be the outside, and which will be the lining.
From the lining, cut one rectangle, 4" X 10".
From the outside fabric, cut one rectangle, 6" X 9"

(The muslin piece is not shown in the photo.....)
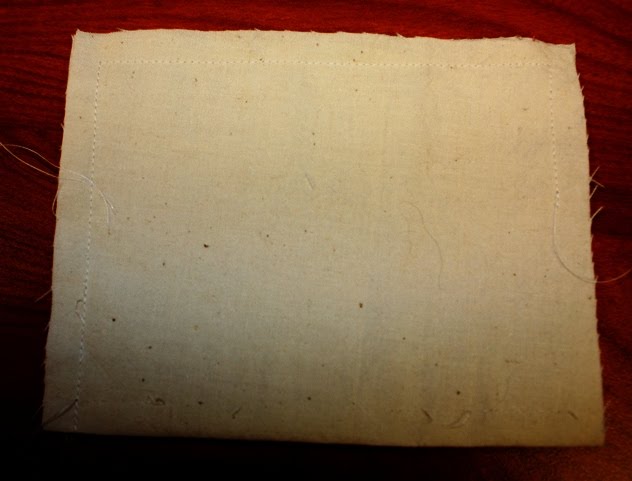
Fold muslin in half, right sides together. Using a short stitch length, stitch raw edges together, leaving an opening approximately 2" in one of the short ends. Turn right side out, if desired. (This will not show, so it's really not necessary to turn it inside out.) Set aside.

To make the straps, fold the 4" X 10" rectangle in half lengthwise, right sides together. Stitch along long edge. Turn right side out and scootch the seam to the center. Press. If desired, topstitch 1/4" from each long side. Cut the strip in half to yield two straps.


Lay the 6" X 9" rectangle, right side up, on the table. Lay the two straps on top of the rectangle, along one of the 6" edges, matching raw edges. Each strap shoud be approximately 1/2" from the center of the large rectangle.
Fold the rectangle in half, enveloping the straps inside. Use pins, if necessary, to keep the straps where they belong. Stitch along one short edge and the 6" edge. Trim the corner.

Turn right side out and press. Press the raw edge under 1/4".

Fold the large (18" X 10") rectangle for the outside of the bag in half along the 18" side. Stitch along each side. Open seam apart at bottom of bag and lay seam flat against the bag bottom, centering the seam. Measure in 1 1/2" from the tip and mark. Draw a line across the bottom of the bag perpedicular to the seam line. Stitch along the drawn line. Repeat for the other side. Trim, if desired.


Repeat for the other large rectange (the lining fabric), but leave a 1/4" opening in one side.
Place one bag inside the other bag, right sides together. Slip the pin cushion in between the two bags, with the pin cushion hanging down between the layers, and the raw edges of the straps matching the raw edge of the bags. The right side of the straps (the side without the seams) should face the lining fabric. Pin the straps in place along one raw edge. Try to center the straps along one of the long sides of the bags. Stitch together


Carefully turn right side out through the opening in the lining.
Slip the strapping tape in between the bag and the lining (through the opening in the lining). This will feel a little cumbersome, but it's the only way to do this. Overlap the ends of the strapping tape approximately 1/4" and tape together. Slide the tape to the top of the bag as far as it will go. (Adjust the tape if the strapping tape isn't the same size as the bag.) Place some pins around the top of the bag just underneath the strapping tape to hold the strapping tape in place. Stitch around the top of the bag, close to the tape, but take care not to stitch through the tape...your machine won't like that....

Stitch the opening in the lining of the bag closed, either by hand or machine. (I did it by machine....after all, it is inside the bag and really won't show.)

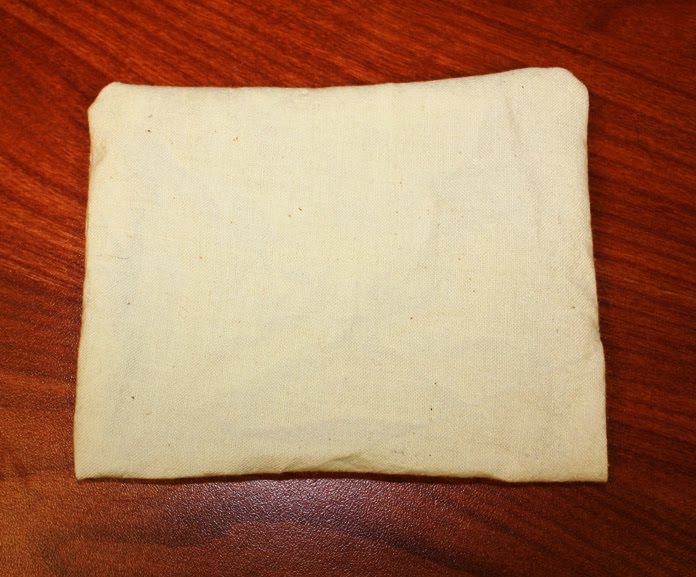
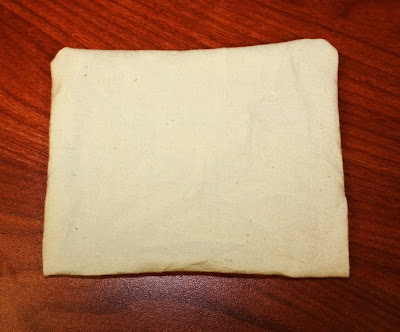
Using a funnel, fill the muslin bag with the sand, rice, or beans. Stitch the opening closed, either by hand or machine. If you are doing it by machine, be very, very careful not to spill sand on or into your machine. Slip the muslin bag inside the fabric bag. Stitch the bag closed.
Stitch a piece of shelf liner to the bottom of the pin cushion, if desired, to prevent it from scooting around on your table.